
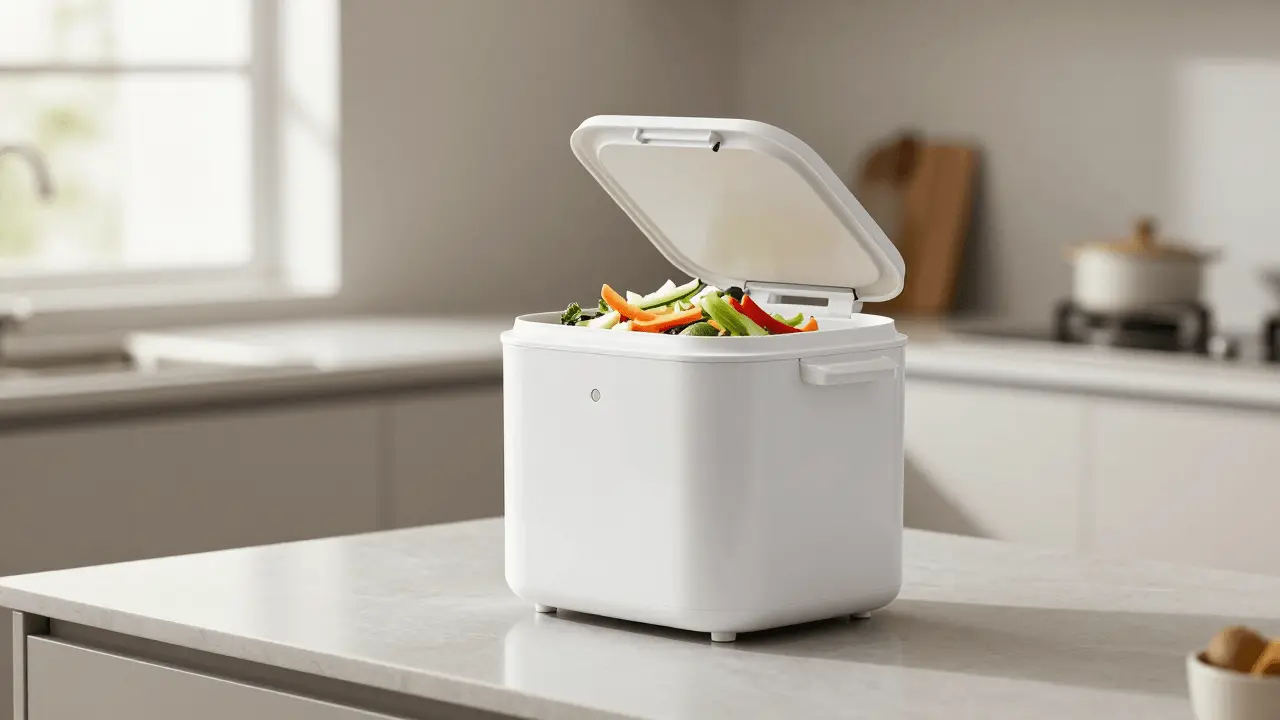
No backyard? No problem. Bokashi composting for apartments is one of the most practical ways to divert food waste from landfill — all from a kitchen counter or under-sink cabinet. Unlike traditional compost bins that need outdoor space and produce recognizable rot, bokashi is a fermentation-based system that’s compact, nearly odorless, and surprisingly fast.
If you’ve ever felt guilty tossing meat scraps, citrus peels, or leftover pasta, this guide is for you. We’ll walk through exactly how bokashi works, what you need to get started, and what to actually do with the finished material when you live in an apartment
Table of Contents
What Is Bokashi Composting?
Bokashi is a Japanese word meaning “faded” or “fermented organic matter.” The system was developed in Japan in the 1980s and uses effective microorganisms (EM) — a blend of beneficial bacteria, yeasts, and fungi — to ferment food waste rather than decompose it through heat and oxygen.
The result? A pre-composted material (sometimes called “bokashi pre-compost”) that breaks down rapidly once introduced to soil or a worm bin. Unlike traditional composting, bokashi Composting handles nearly every type of food waste, including cooked food, meat, fish, and dairy — the stuff that normally can’t go in a backyard compost pile.
How Does Bokashi Composting Work?
The process is anaerobic, meaning it happens without oxygen. Here’s the basic cycle:
- Add food scraps to your sealed bokashi bin.
- Sprinkle bokashi bran (the microorganism carrier) over each layer of scraps.
- Press down and seal the lid tightly after every addition to keep air out.
- Drain the liquid every few days through the bin’s spigot — this is bokashi “tea,” a powerful liquid fertilizer.
- Wait 2–4 weeks once the bin is full. The fermented material is now ready for the next stage.
The fermented waste will look similar to what went in — just pickled. It still needs to break down further in soil, a worm bin, or a community compost site. Think of bokashi Composting as Stage 1; soil integration is Stage 2.
Bokashi Composting vs. Traditional Composting: Quick Comparison
Not sure if bokashi is right for you? This table covers the key differences:
| Feature | Bokashi Composting | Traditional Composting | Worm Bin (Vermicomposting) |
|---|---|---|---|
| Space needed | ✅ Countertop / under sink | ❌ Outdoor bin or pile | ✅ Can be indoor |
| Smell | ✅ Mild pickled scent (if sealed) | ❌ Can smell if unmanaged | ✅ Earthy, minimal |
| Accepts meat & dairy | ✅ Yes | ❌ No | ❌ No |
| Speed | ✅ 2–4 weeks to ferment | ❌ 2–6 months | ⚠️ 3–6 months |
| Produces liquid fertilizer | ✅ Yes (bokashi tea) | ❌ No | ⚠️ Sometimes (worm leachate) |
| Ongoing cost | ⚠️ Bran refills needed | ✅ Free after setup | ✅ Minimal |
| Apartment-friendly | ✅ Yes | ❌ No | ✅ Yes |
What You Need to Start Bokashi Composting
The good news: the startup list is short. You need just three things:
1. A Bokashi Bin
A proper Bokashi Composting bin has an airtight lid, a false bottom, and a spigot for draining liquid. Most hold around 4–5 gallons — enough for a household of 2–4 people. You’ll ideally want two bins so one can ferment while you fill the other.
2. Bokashi Bran
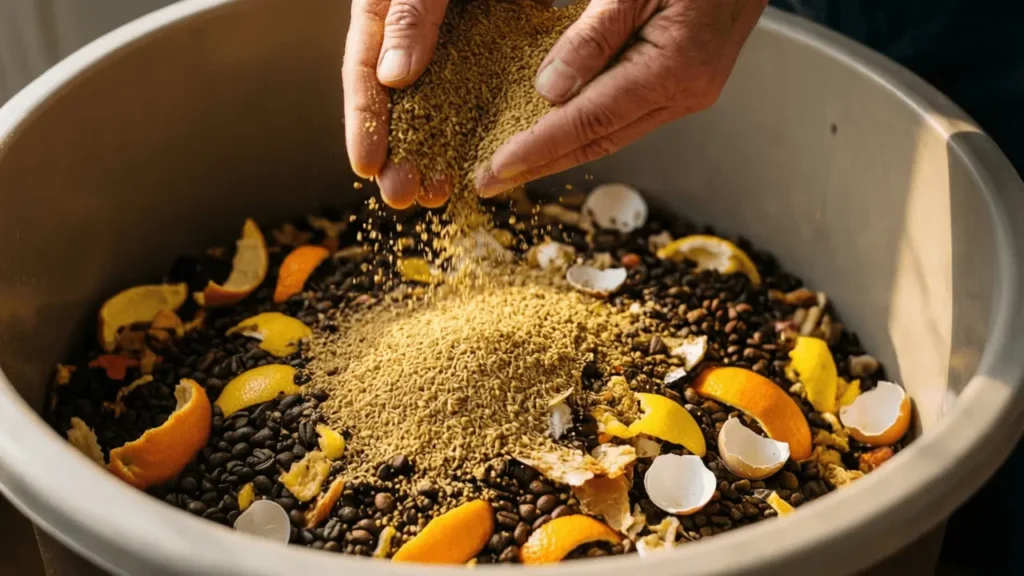
This is the active ingredient — wheat bran (or sawdust) inoculated with EM cultures. You sprinkle a thin layer over every addition of food scraps. A 2.2 lb bag typically lasts 1–3 months depending on how much waste you generate.
3. Food Scraps
Almost anything goes. Here’s a quick reference:
| ✅ Can Add | ❌ Avoid |
|---|---|
| Fruit and vegetable scraps | Large bones (too hard to ferment) |
| Cooked food (pasta, rice, bread) | Excessively moldy food (different mold) |
| Meat, fish, and seafood | Liquids (juices, broth) |
| Dairy (cheese, yogurt, eggs) | Non-food items (plastic, paper) |
| Coffee grounds and tea bags | Pet waste |
| Small bones (chicken, fish) | Excessive salt or vinegar |
Step-by-Step: Setting Up Your Bokashi Composting System
Ready to start? Here’s how to set up and run your bokashi bin from day one:
- Place your bin somewhere convenient — under the sink, in a pantry cupboard, or on the countertop. It needs to be at room temperature (not too cold, not too hot).
- Add a layer of bokashi bran to the bottom of the empty bin (about 1 tablespoon).
- Add your first batch of food scraps. Cut large pieces smaller for faster fermentation. Drain excess liquid from scraps before adding.
- Sprinkle 1–2 tablespoons of bran evenly over the scraps.
- Press the scraps down firmly with a plate or the base of a cup to push out air pockets.
- Seal the lid tightly. This is critical — oxygen is the enemy of bokashi fermentation.
- Repeat daily or every few days. Only open the bin when adding scraps. Add bran every time.
- Drain the spigot every 2–3 days to collect bokashi tea. Don’t let it pool in the base — it can become foul-smelling if left.
- Once the bin is full, seal it completely and leave it undisturbed for 2 weeks.
- Start filling your second bin during this waiting period.
After two weeks, the material should smell pleasantly sour (like pickles or vinegar). White fuzzy mold on the surface is normal and good — it’s part of the EM culture working. Black, green, or foul-smelling mold means something went wrong.
What to Do With Bokashi Waste (Without a Garden)
This is the question every apartment composter faces. Here are your best options:
Option 1: Bury It in a Planter or Pot
If you have balcony planters, dig a hole, add a layer of fermented bokashi material, cover with several inches of soil, and wait 1–2 weeks before planting. The acidity neutralizes fast in soil.
Option 2: Donate to a Community Garden
Many community gardens actively want bokashi pre-compost. Search for local community gardens or urban farms — most are thrilled to accept it.
Option 3: Bokashi Tea Down the Drain
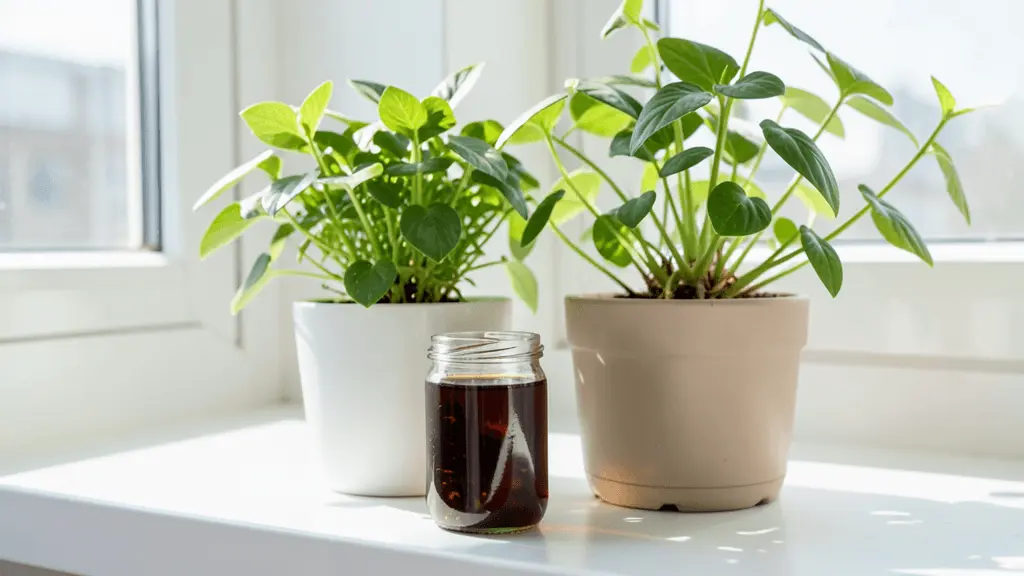
The liquid fertilizer can be poured down sinks or toilets diluted 1:100 with water — it actually helps break down biofilm in pipes. Or dilute and use it on indoor plants or balcony pots.
Option 4: ShareWaste App or Local Composting Schemes
The ShareWaste app connects people with food scraps to local hosts with compost bins or worm farms. Some cities also run municipal compost drop-off programs.
Option 5: Combine with a Worm Bin
Bokashi pre-compost is worm food in disguise. Once fully fermented (and after a brief airing out to reduce acidity), it can be fed to a small indoor worm bin. Worms will finish the job in weeks.
Best Bokashi Composting Bins for Apartments
These are the most popular, well-reviewed options at different price points:
| Product | Capacity | Best For | Price Range | Link |
|---|---|---|---|---|
| SCD Probiotics All Seasons Bokashi Starter Kit | ~5 gal (×2 bins) | Best all-in-one starter | $$ | Check Price → |
| Bokashi Living Composting Starter Kit | ~4.5 gal | Budget-friendly single bin | $ | Check Price → |
| Full Circle Fresh Air Odor-Free Kitchen Compost Collector | 1 gal (countertop) | Tiny apartments, scrap storage | $ | Check Price → |
| Skaza Bokashi Organko 2 Set | ~4.2 gal (×2 bins) | Sleek design, EU-made | $$ | Check Price → |
💡 Pro tip: Always buy a starter kit that includes both the bin and bran together. Buying separately is usually more expensive.
You’ll also want to keep a supply of bokashi bran on hand. Popular brands include:
Tips, Troubleshooting, and Common Mistakes
Common Mistakes to Avoid
- Not sealing the lid properly. Air is the enemy. Press scraps down and double-check the seal every time.
- Adding too much liquid. Soups, juices, and very wet scraps throw off the fermentation balance. Drain excess liquid or dry scraps slightly before adding.
- Skipping the bran. Every layer needs bran, every time. Running out mid-bin is a common issue — buy extra.
- Forgetting to drain. The liquid collects at the bottom. If left too long, it goes bad and creates a genuinely unpleasant smell.
- Adding food in huge batches. Smaller, more frequent additions ferment more evenly than one giant dump per week.
Troubleshooting
| Problem | Likely Cause | Fix |
|---|---|---|
| Smells rotten/putrid | Too much air, too wet, or old scraps | Add extra bran, press down harder, drain liquid |
| No liquid draining | Not enough wet scraps, or spigot blocked | Normal if scraps are dry; clean spigot |
| Black mold forming | Contamination from outside mold | Remove affected area; add more bran |
| Fruit flies | Lid not fully sealed | Check lid seal; store bin away from fruit bowls |
| Scraps not breaking down in soil | Fermentation incomplete | Extend ferment time by another week |
Frequently Asked Questions
Does bokashi Composting smell bad?
A properly sealed and managed bokashi composting bin smells mildly sour — like vinegar or pickles. It should not smell like rot. If it does, something has gone wrong (usually air exposure or too much liquid). Most people living in apartments find the smell completely manageable.
How long does bokashi Composting take?
The fermentation phase takes 2–4 weeks from when you seal a full bin. The total cycle from first scrap to soil-ready material is roughly 4–6 weeks — much faster than traditional composting.
Can I use bokashi Composting in a small apartment?
Yes — that’s exactly what it was designed for. A standard 5-gallon bin fits comfortably under most kitchen sinks or in a bathroom cabinet. The only consideration is temperature: avoid storing it somewhere that gets very cold (below 50°F / 10°C) in winter, as this slows fermentation.
Is bokashi bran expensive?
A typical 2.2 lb bag costs between $15–$25 and lasts 1–3 months for a single-person household. Some people make their own bokashi bran at home with wheat bran and EM solution, which significantly cuts costs over time.
What if I don’t have anywhere to put the finished compost?
This is the main challenge for apartment dwellers. Your best options are: community gardens, the ShareWaste app, balcony planters, local urban farms, or combining your bokashi Composting system with a small indoor worm bin to complete the cycle.
Final Thoughts
Bokashi composting for apartments is genuinely one of the best solutions for urban food waste — it’s compact, fast, accepts nearly any food waste, and produces both solid pre-compost and a powerful liquid fertilizer. The main learning curve is the two-stage process (ferment first, then finish in soil), and the main challenge for apartment dwellers is finding somewhere for the finished material.
Start with a starter kit that includes bran, get a second bin early, and connect with a local community garden or ShareWaste host. Once the routine clicks, it takes about 30 seconds of effort per day and keeps a significant amount of waste out of the landfill.
Take Action Today
- Subscribe to our Newsletter – Receive expert tips, case studies, and exclusive content on sustainable technology and green materials